Google Slides is a great tool for creating presentations, the great sharing options make it easy to get a revision or to build the slides together with a colleague or a friend. Among all the great features this useful tool gives, there’s the ability to generate many great colored shapes and other graphic elements.
Sometimes you could get two of them to overlap and cover each other. Many times you don’t want to fully cover the background element, so you would be able to add some transparency to the top object in order to show the background one.
You can do it very easily, it’s only a few clicks! Let’s see how to make a shape translucent in Google Slides so that it doesn’t cover the background.
How do I make a shape slightly transparent?
Making a semi-transparent object is easy and gives a good result!
- Just open your slide, maybe one with some images you don’t want to cover and follow our advice!
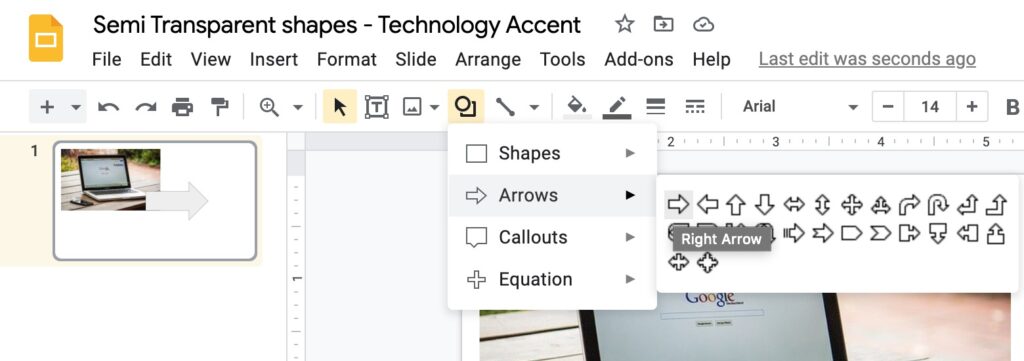
- Click on the “Shape” button on the toolbar.
- Choose the category you need from the menu, in my example I’ll add an arrow, so I go into the “Arrows” submenu.
- Pick the object you want to insert.
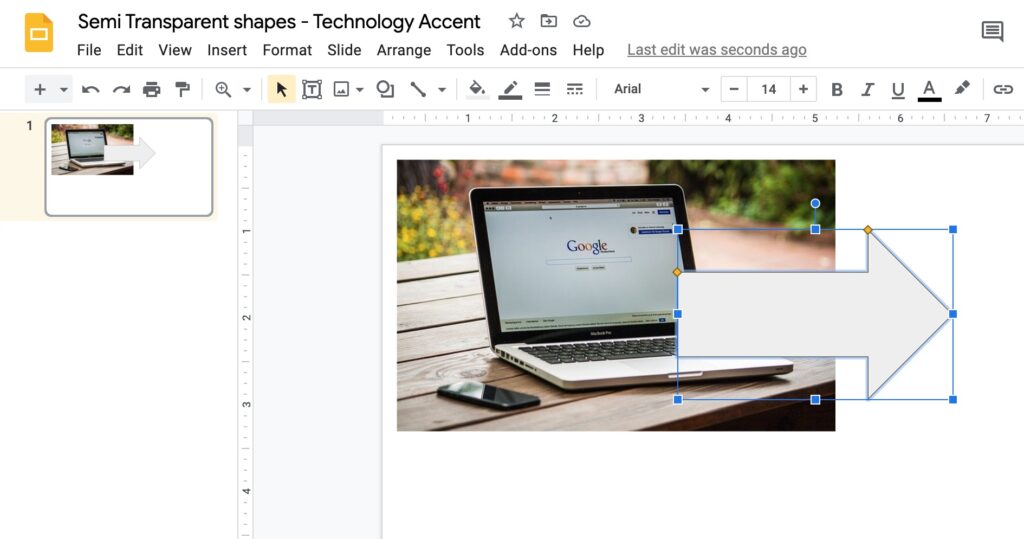
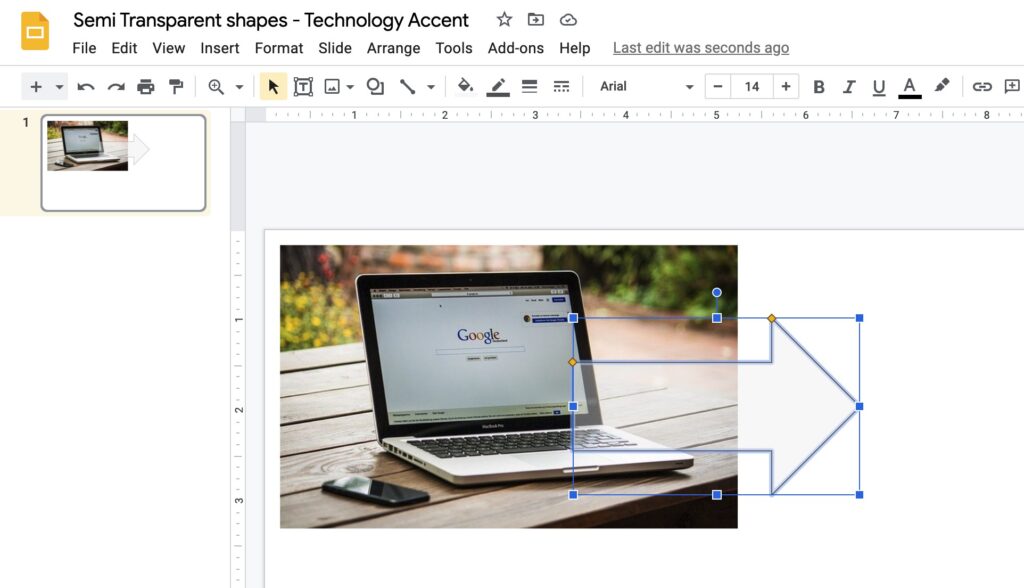
- Draw it into the slide. You can move and change the size later, so you don’t need to be perfect here.
- You should now be in a situation similar to the following screenshot:
- Now, with the newly created object selected, the “Fill color” toolbar button should be enabled.
- Click on it and then on the + sign just under Custom.
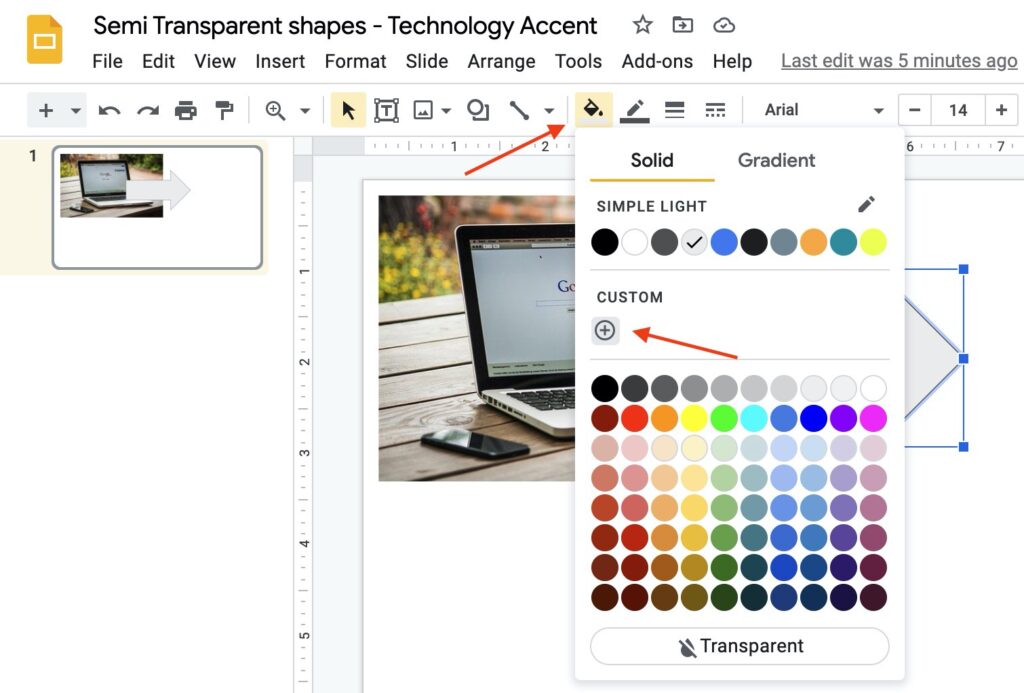
- The color picker should open, but we don’t need to change the color.
- The section we’re interested in is the last, the “Transparency” one.
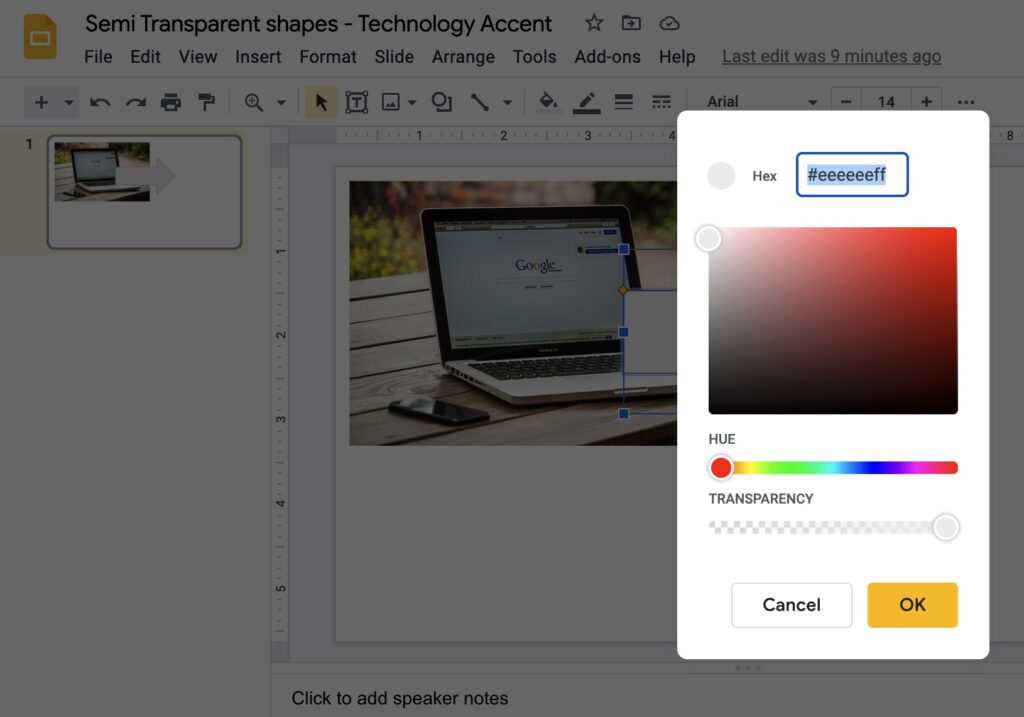
- Now we can use the transparency slider to select the level of opacity we want. Left is fully transparent, right is fully opaque.
- I’ll select the transparency level to just a bit less than half and confirm with a click on “OK”.
And here is the result, you can now see through the shape!
How to make a semi transparent text box in google slides
There are situations where making a simple shape transparent is not enough, and you want to play with some text instead.
Let’s get back to our example slide, and add a text box over the image. The default behavior of the text box is having a transparent background so that only the text is shown and not the text box rectangle.
This is not ideal in our situation, as the text blends with the background image, and where there’s a black solid color on the background the text is unreadable.
The best solution is to add some background color to the text box in order to make it readable.
Here’s how to do it:
- Select the text box.
- Open the Fill Color tool from the toolbar.
- Select the custom color option by clicking on the + sign below “Custom”.
- In the Color window, you can use the custom color box to select the color for your background.
- From the “Transparency” slider you can tweak to get the perfect background transparency level. This will help you to get the balance between isolating the text from the background and not covering the image too much.
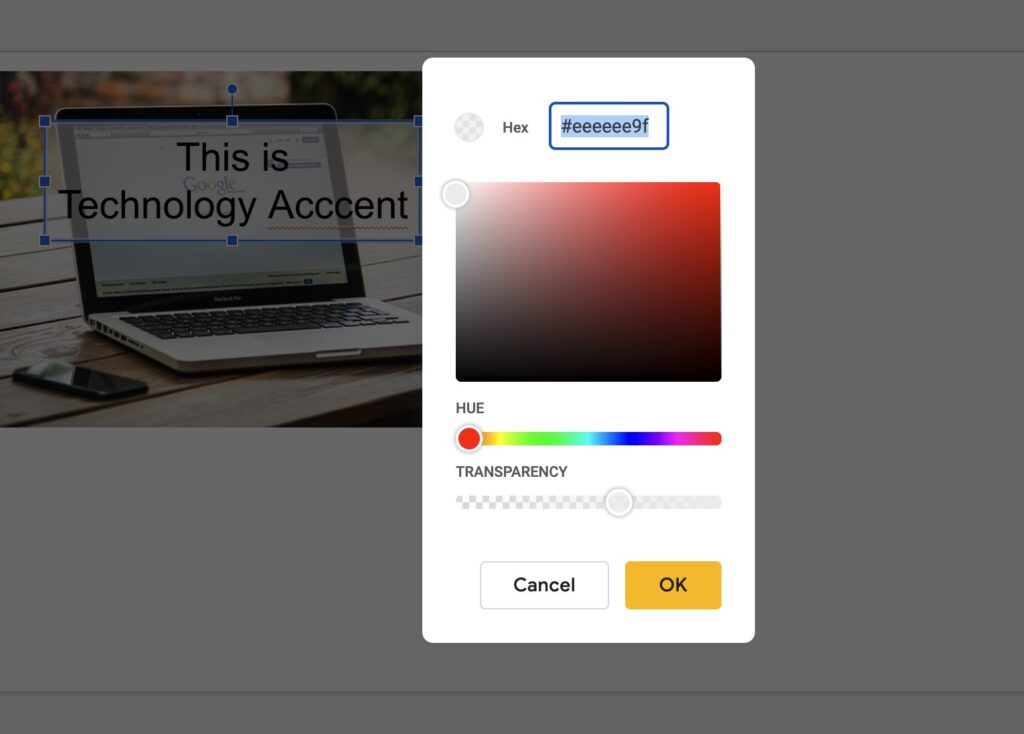
- I’ll select a transparency level above the halfway mark as the black-on-black text is difficult to isolate with a too transparent color.
- Then click on the OK button and check your result:
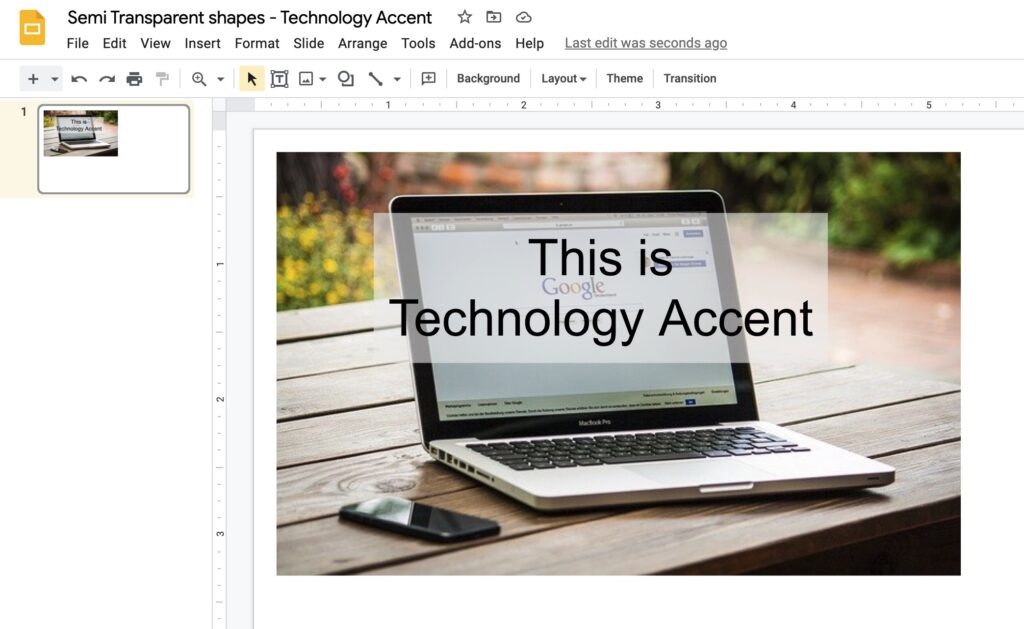
With this compromise, the text is easily readable, but you can still see through the colored box.
How to make a semi transparent image in google slides
Ok, we saw how to make text boxes and shape transparent, but what about images? is there a way to make an image transparent so you can put it over another image and “see-through” it?
Yes of course!
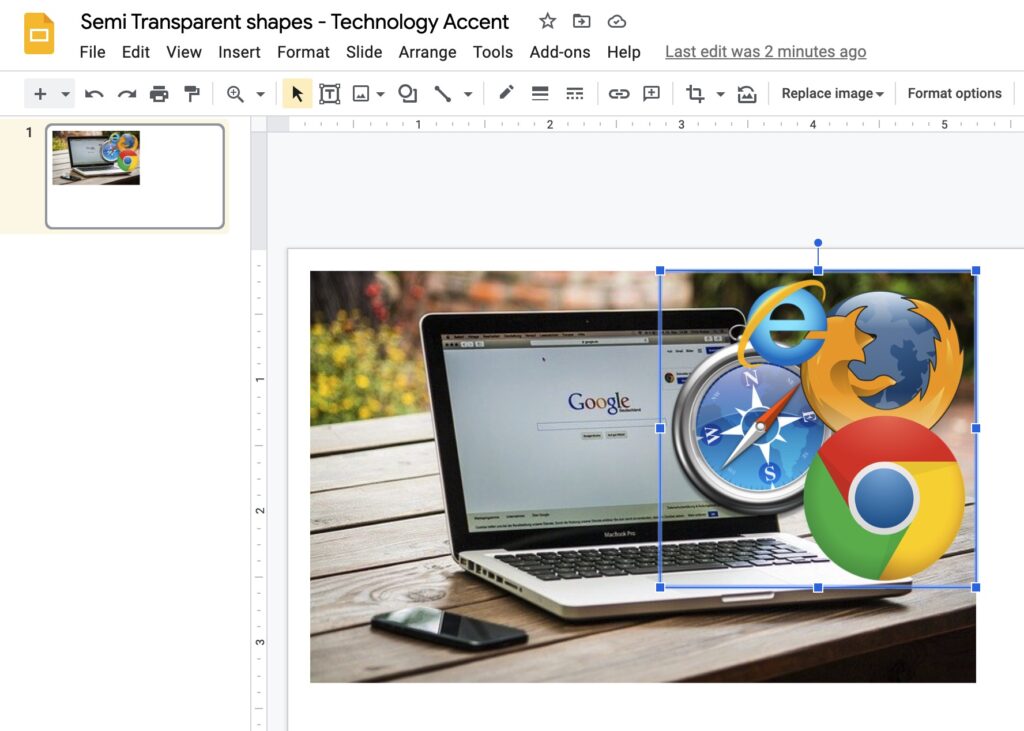
Let’s add an image to our sample file and get it blended into the background.
- Open your slide and select the foreground image you want to make transparent.
Now open the Format menu and click on format options.
The new Format options sidebar will open, giving you access to all the image options you can tweak.
We need the “Adjustments” menu, so expand it.
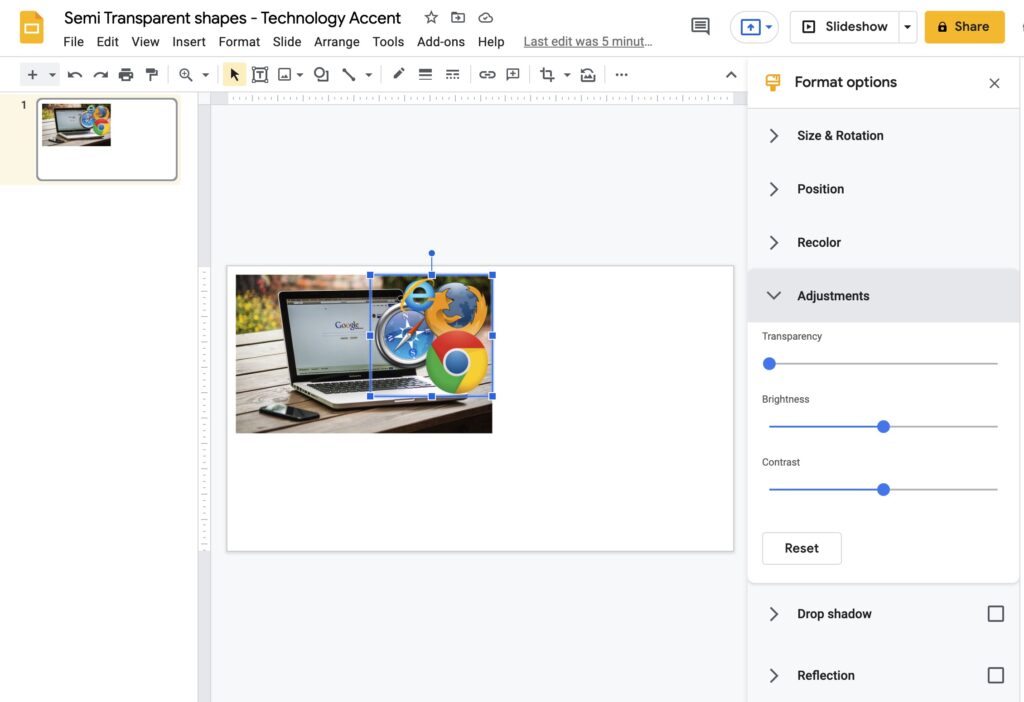
Inside it, the first option is the Transparency one.
You can now move the slider and view in real-time the effect of making the image transparent.
When you’re good, you can just release the slider in the chosen position.
Once done you can close the Format options sidebar if you don’t need it anymore.
