I love putting together interesting slideshows. There’s something exciting about transforming your day-to-day slideshow into something much more exciting. One of the best-kept tricks for creating compelling slideshows is writing vertical text.
Here are three quick ways you can write vertical text in Google Slides.
Squeeze a Regular Text Box
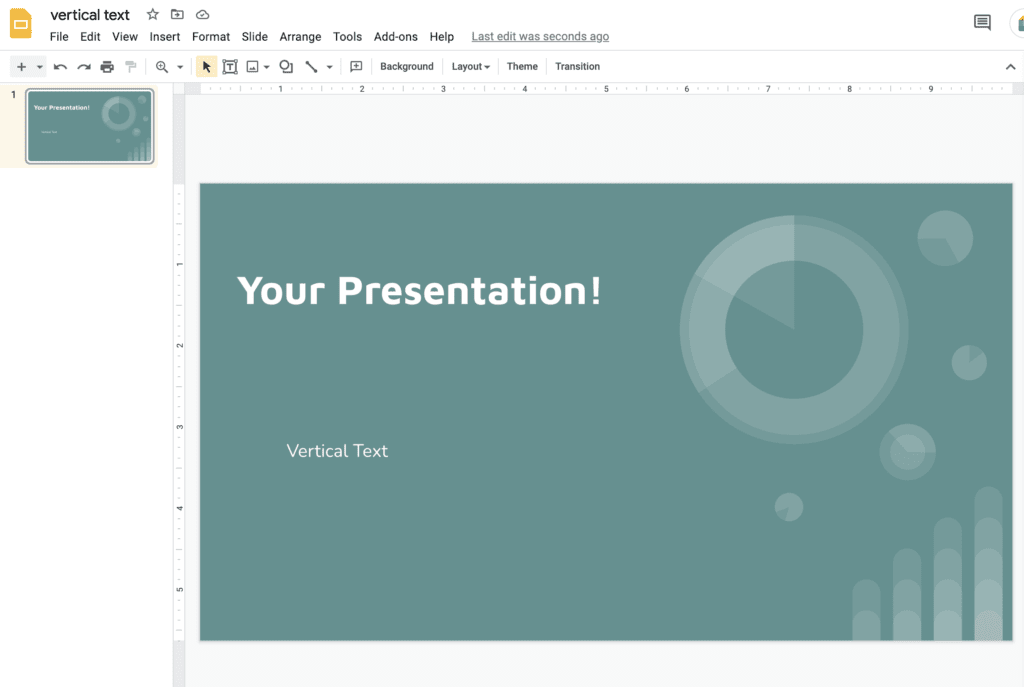
Your first step in creating vertical text boxes in Google Slides will be to create your new slideshow. You can create vertical text using any template, custom templates, and on any slide.
I’m going to be using one of Google Slides basic templates and writing some vertical text on our title slide.
Create a text box and type your text into the text box. Then apply whichever style format option you want: font size, color option, and so on. Keep in mind that vertical text takes up a lot more space than horizontal text. You are only able to fit a few words vertically without things looking too jumbled. So, I’ve just written “vertical text” as a sample.
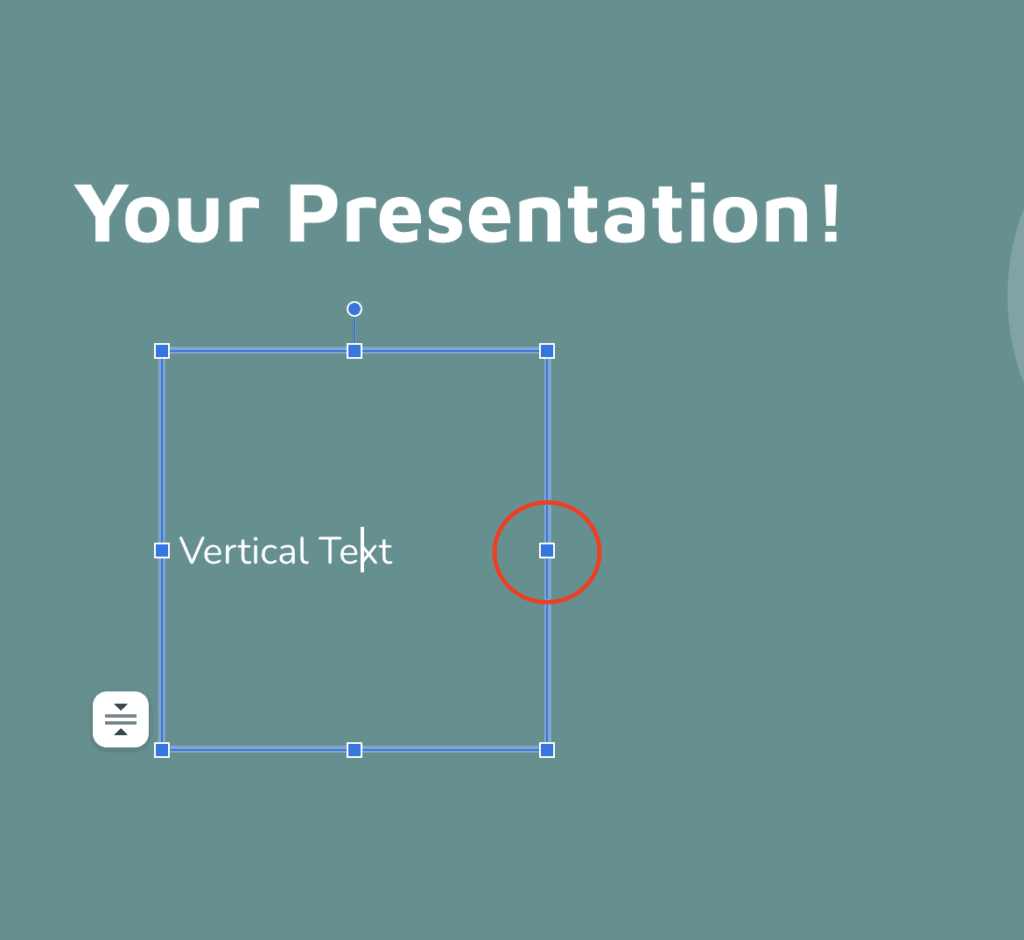
Next, you should see a few resizing handles on your text box. You can drag these to change the size and shape of your text box. I’m going to grab the one on the right side and drag it left to squeeze our sample text box.
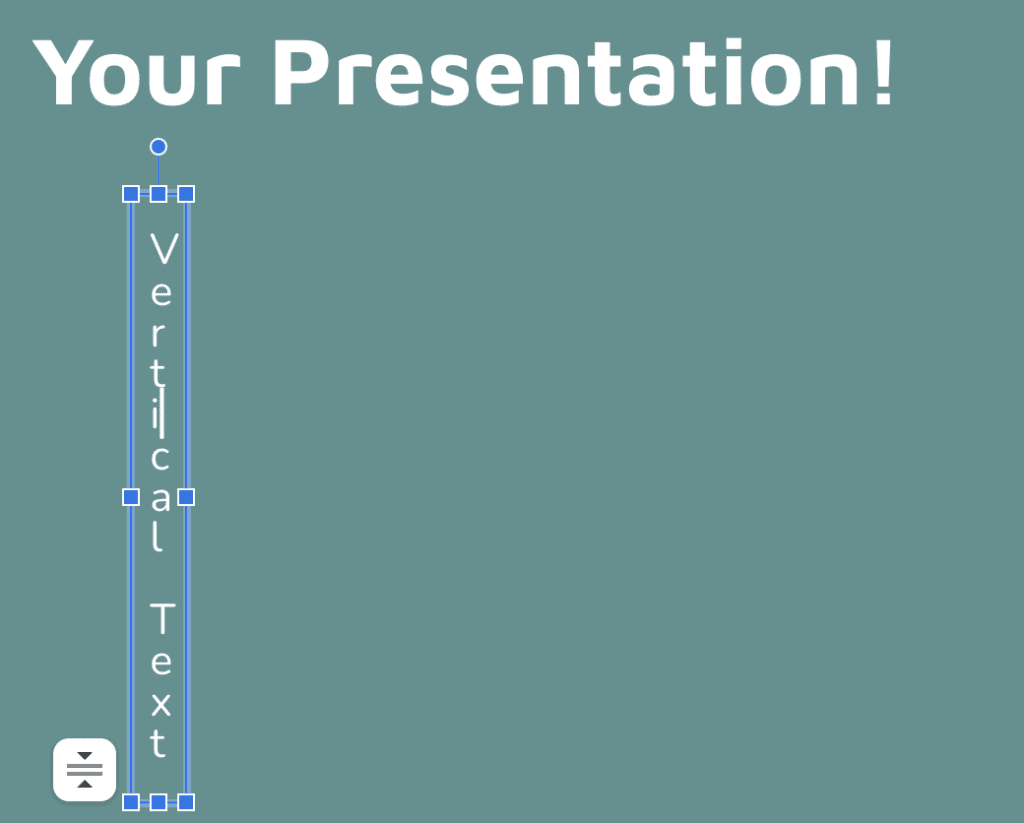
Now, we’ve got some basic vertical text. However, you might notice that the text looks a little bit off. This is because the spaces we use in between words don’t translate vertically. Will need to hit the enter key to create line breaks to make vertical spaces in between our words. Here is how it looks when it’s done.

Next, I’ll walk you through rotating a text box for vertical text boxes that still have horizontal text.
Rotate a Text Box
Let’s get back to the start where we have just our title and a simple text box that says “vertical text.” I’m going to walk you through rotating this text box so that you can have vertical text boxes, but the text will still stay horizontal.
This is a great way to create some dynamic and interesting text. You can have all of the visual appeal of vertical text, but you’ll have the readability and eye-catching quality of the horizontal text. Let’s get started.
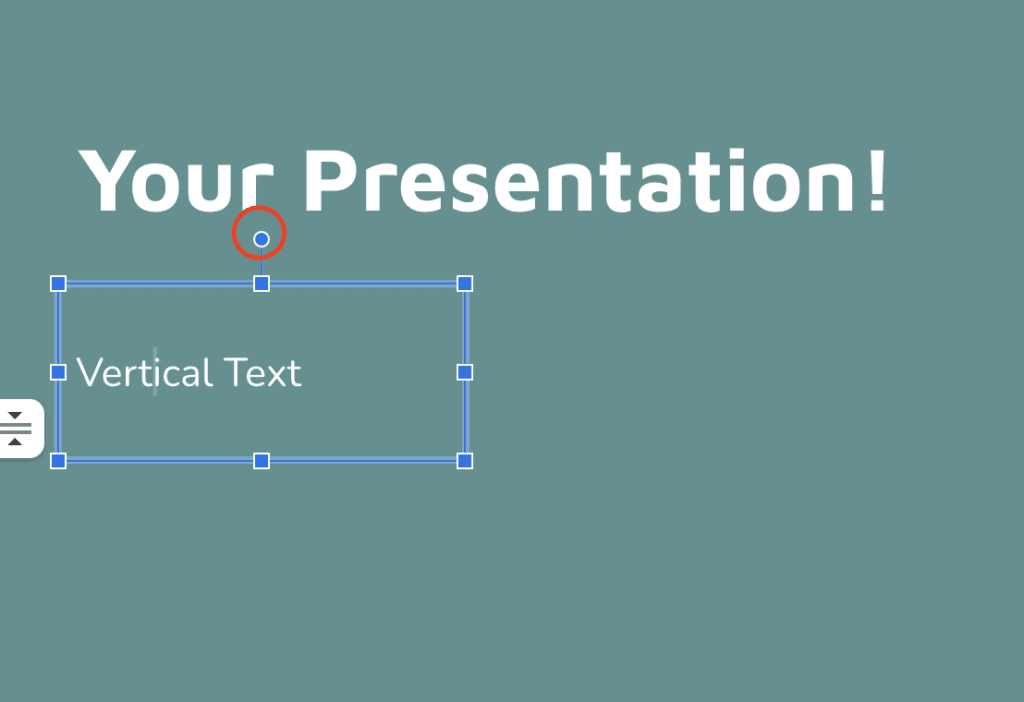
Click anywhere into your text box, and you’ll notice those transformation handles pop up again. Instead of looking for the square ones, this time we’re looking for the circular handles. The square handles let you change the size and shape of a text field and the circular handles let you freely rotate the text.
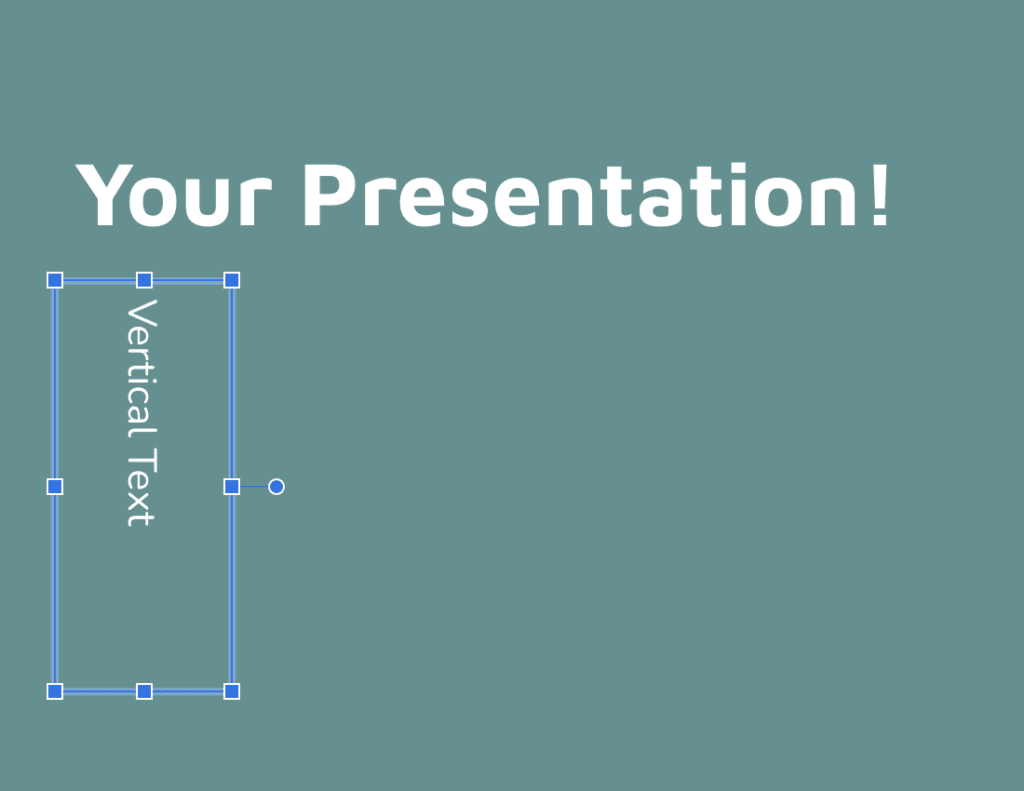
Click the circular handle and drag it to the right and the text box will start to rotate. Google Slides automatically snaps the text boxes at right angles, so you can easily achieve a 90° angle without too much worry.
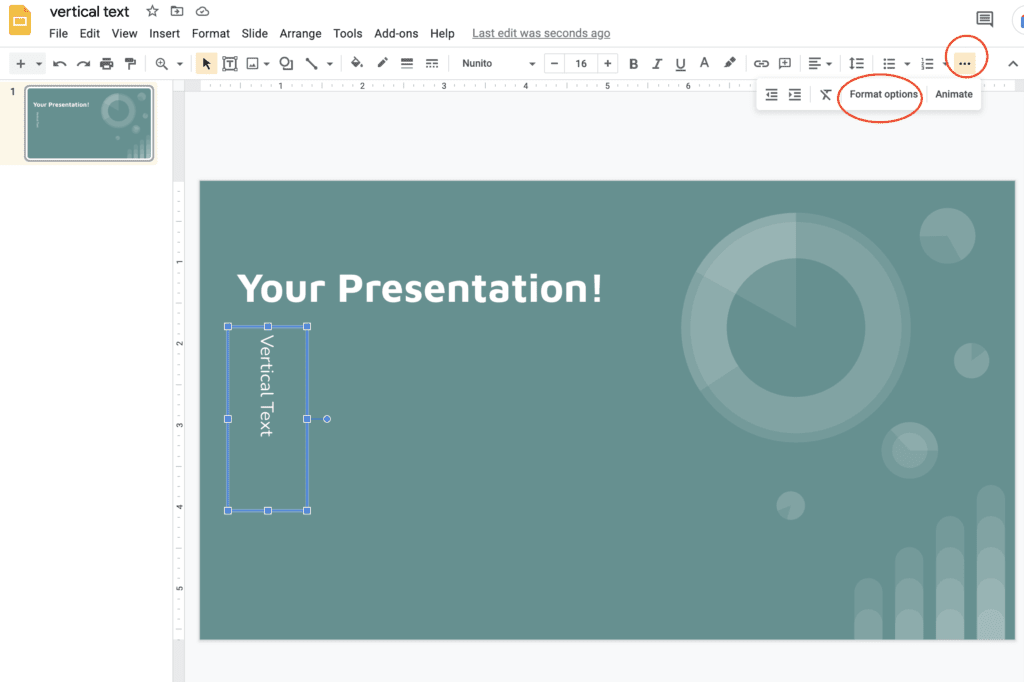
You can also rotate the text box using the formatting options. With your text box selected, all you have to do is go up into the toolbar and select the three dots which reveal the format menu. Click on formatting this will open up the menu giving you more options to alter your text boxes.
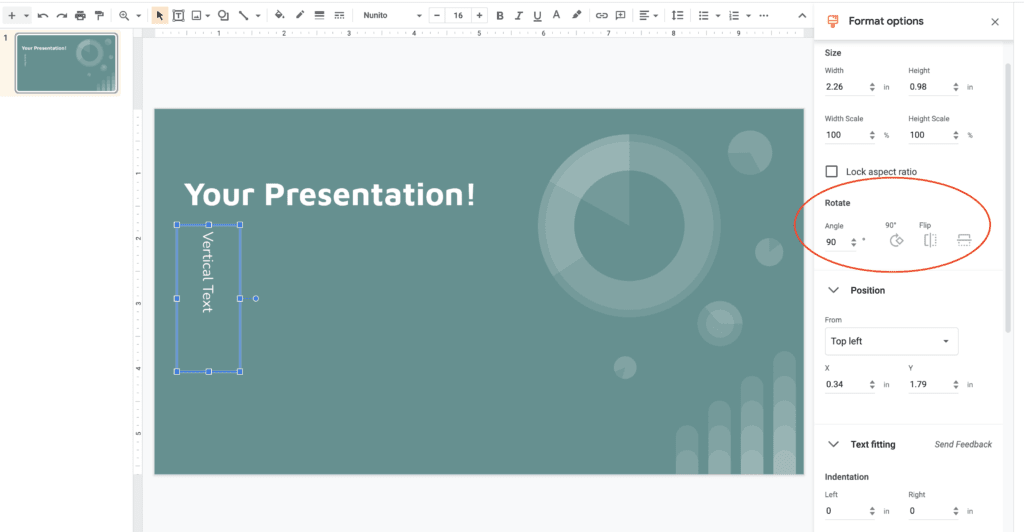
If you scroll down in the formatting menu, you’ll notice that there are some options to rotate your text. Here you can enter any value for the angle of your text. 90 degrees and -90 degrees give you the best options for creating vertical text.
Get Creative With Columns
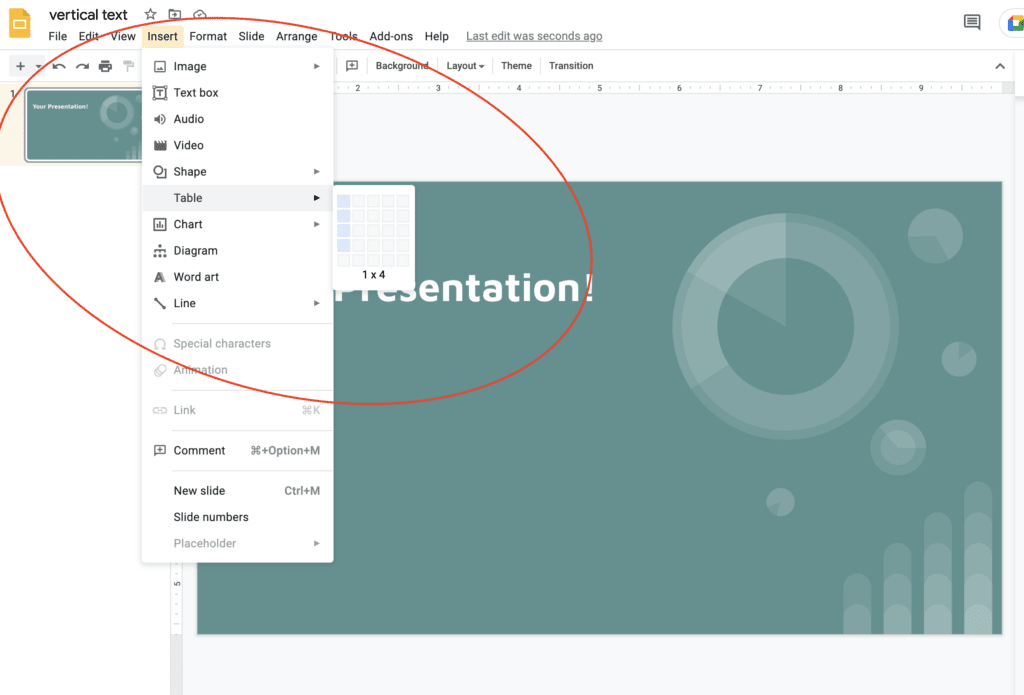
The last way I’m going to show you how to create vertical text in Google Slides is by using columns. You can create a table that has a single row of columns to create your vertical text.
In my example, I’m creating a table with 4 columns because my sample word is just “text.” However, you should create a table with enough columns for each letter in the word that you’re going to write.
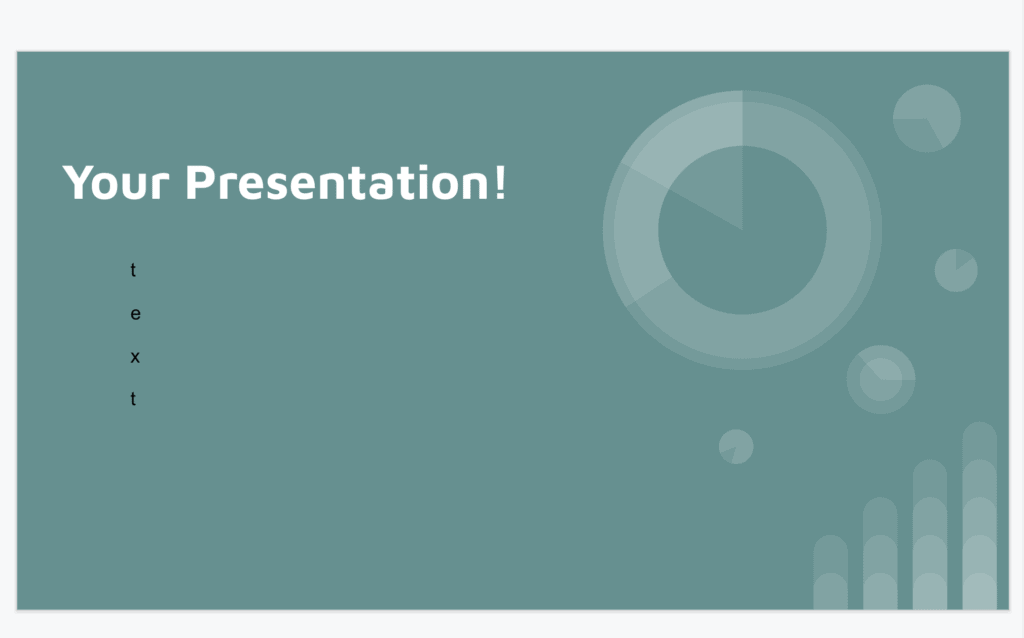
Now you have a table with some vertical text, but we’ve got one big problem. There are lines on this table that don’t necessarily look too good with the visuals of our presentation. Let’s remove these lines, so we can just have plain vertical text.
We need to get creative with our tables and columns in order to remove these lines. It’s actually a little more straightforward than it seems. The first step is to click on your table to make sure that the table is highlighted.
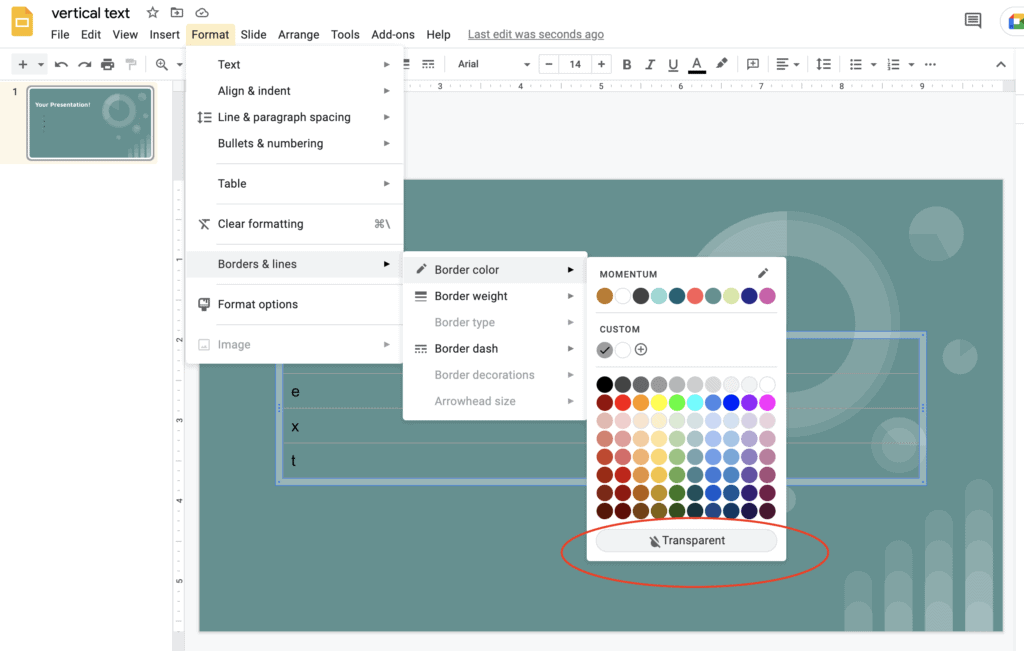
Next, you’re going to want to go into the formatting menu and locate the Borders and Lines section. From there, all you need to do is select Border Color and scroll down until you find “transparent.”
This will create a transparent border around your table, making it look like the text is vertical and floating without any borders.
Conclusions
Google Slides is probably less used than Powerpoint, but it has some great advantages: It works on your browser, so using Windows, a Mac or Linux makes no difference.
Also, it allows easy access to your documents from everywhere, and you can even share your presentation to get quick feedback for example from a colleague, or share a presentation for a school group project and collaborate in real-time!
Some say that Google Slides has fewer features, but it offers a lot of editing options, dropdown menu, to personalize your presentation style. We have many tutorials, explained in simple steps to boost your presentation, check them out!